Friday, April 17, 2015

Power Supply Build

 Plot PCB Holes

Draw traces with etch resistant ink

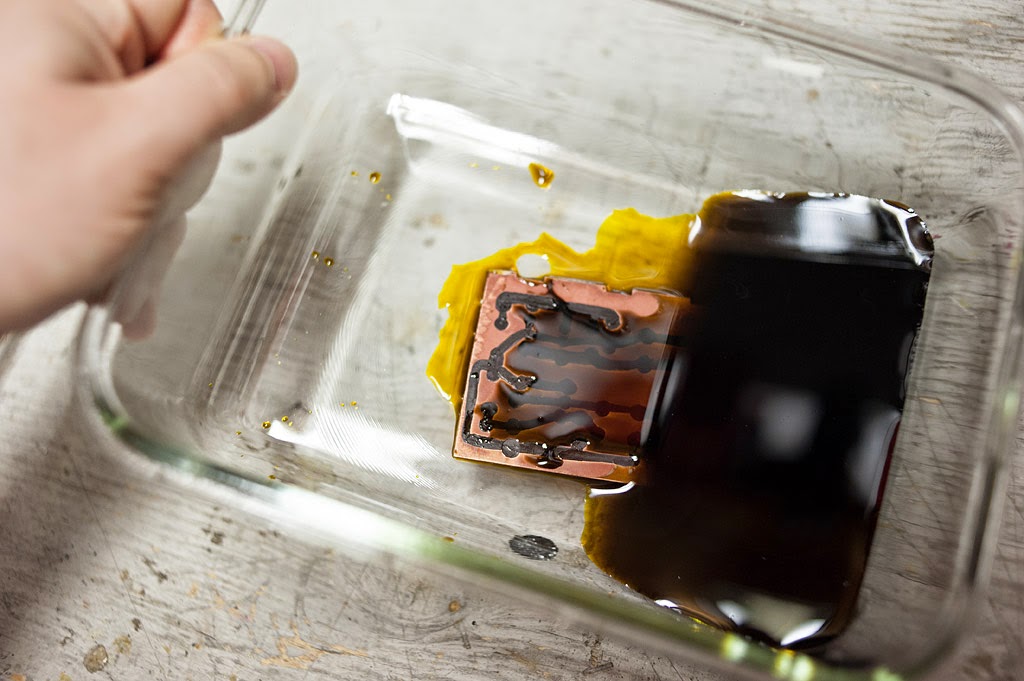
Etch copper clad board with Ferric Chloride
 
After the etch, just the resist ink remains...

Remove etch-resitant ink with isopropyl alcohol

Drill PCB holes

 Stuff PCB and solder components - scope/meter to ensure proper output voltage

Load test the output

Clip component leads and spray a few coats of lacquer

Wire to terminals/connectors

 Ready to be installed in project box...

No comments:

Post a Comment

Labels

adam (1) aquarium (1) ATV (10) ballet (1) bbq (1) bear (14) bears (1) beer (1) bell park (8) ben (7) birds (21) birthday (2) black-white (51) bridge (1) bugs (19) buildings (3) bunnies (1) camping (1) cars (7) chemicals (6) christmas (8) chutes (1) construction (2) cookies (1) cooking (4) cows (1) coyote (1) critters (4) dance (1) dancing (2) dynamic earth (1) electronics (4) eric (4) fall (7) fire (2) fish (1) flowers (1) garage (1) garbage (5) garden (5) graffiti (1) guitars (3) halloween (4) IR (3) jil (16) killarney (6) lake (2) lily (154) long-exposure (19) macro (50) misc (40) moose (1) museum (2) music (7) nature (42) new brunswick (2) niagara falls (2) north bay (4) northern lights (1) nova scotia (3) onaping (2) pano (9) pit (4) plants (2) playhouse (1) quebec (1) recording (3) river (3) rose (1) science north (1) skating (3) skead (2) sliding (2) snake (1) snow (1) snowmobile (4) squirrel (1) steven (2) studio (6) sturgeon falls (1) sunset (22) tools (1) toronto (8) turtle (1) waterfall (9) winter (20) zoo (2)